
Beginner's Guide: 1:1 Personal Video
ThankView 1:1 Video is a helpful new feature that allows you to record one-off videos for your donors without having to build and configure entire campaigns! This flow allows you to quickly copy and paste a thumbnail preview, description, and landing page link into your own emails. Check out our video tutorial on this too!
This feature is only available for Premium and Enterprise accounts. It is also only accessible to users with Admin, Creator, or Recorder permission levels.
Step 1. Select Record a 1:1 Video
From the homepage, in your section with Recent Campaigns, select the button that says Record a 1:1 Video. This will take you to the 1:1 page!

Step 2. Create and Title a New Video
Click the + button on the left-hand side to create a new video and use the boxes at the top of the page to create a video title and custom email message for your video. The title will be visible only to users in your portal - the customer email message will be a part of the ThankView you send to your recipient.
- Note: If your Video List is empty, you will see an option to Add from Contact List. Clicking this allows you to select a list of contacts to add to your Video List. Video shells with each contact’s name pre-populated in the title will appear, ready for you to start recording! Take a look at our article to learn more about Contact Linking.

Step 3. Record Your Video
In your recording box, click Enable Webcam and prepare for your video. In the top right corner, you'll see four icons that can help you get your best recording.

- The Magic Wand icon helps you control your background. When clicked, you'll get a dropdown that will present you with options to either Blur My Background or Choose Virtual Background. In the latter, you'll be able to upload an image in .jpg or .png and even choose the resolution of said image.
- The Gear icon allow you to choose the resolution of your video.
- The Camera icon is where you can go to choose your camera, this is helpful if you're using an external webcam!
- Lastly, the Microphone icon will allow you to select which microphone you'd like to use for recording; this could be your computer's built-in microphone, or an external mic.
You have the option to toggle on text instructions that will be superimposed over your recording area for teleprompter-style recording. To do this, click Toggle Script and then click in the text box to add text!

When you're ready, hit Start Recording, then wait for your video to finish processing (this may take a moment). If you find yourself needing to re-record your take, select the Start Over button in the middle of your recording area. You also have the ability to click the Upload a Video button and choose from your files, or Switch to Screen Recorder and record from your shared screen!
Step 4. Edit Your Video
Once you've recorded, if you have edits you'd like to make, select Edit Video under your preview. This will bring you to a page where you can utilize the editing toolbar and adjust your video's metadata. For more info, check out our article on editing your 1:1 Videos.

Step 5. Configure 1:1 Video Options
On the left-hand side, you have three opportunities to customize your 1:1 Video:
- Contact - Link a contact to the video to tie engagement data to their contact profile, making it easier to view a donor’s engagement history. Take a look at our article about linking contacts in 1:1 Video to learn more.
- Landing Page Settings - Upload your organization’s logo, add a Call-to-Action button that links to an external page, and select or create a branded landing page to elevate the donor’s experience of viewing a 1:1 Video. Use toggle switches to enable or disable these elements. If you want to reuse these settings, learn more in our article about setting your 1:1 landing page defaults.
- Envelope Settings - Pick an existing branded, holiday, or legacy envelope or create a new branded envelope to include with your 1:1 video. If using, be sure to select the Envelope thumbnail option before sending your 1:1 (we’ll cover this step next!). Our article about 1:1 landing page defaults also covers reusing envelope settings.

Step 6. Select Your Video Thumbnail
Before you send, choose how you’d like your video to appear to donors. You have three options:
- Static Thumbnail - Includes a still image of your video.
- Animated Thumbnail - Includes an animated .gif of the first three seconds of your video (this option is the default).
- Envelope - Includes an image of the envelope chosen within your 1:1 Video Options that opens upon playing the video.

Step 7. Copy Link, Paste, and Send
You'll have two options for copying your 1:1 Video, both found under the video recording box:
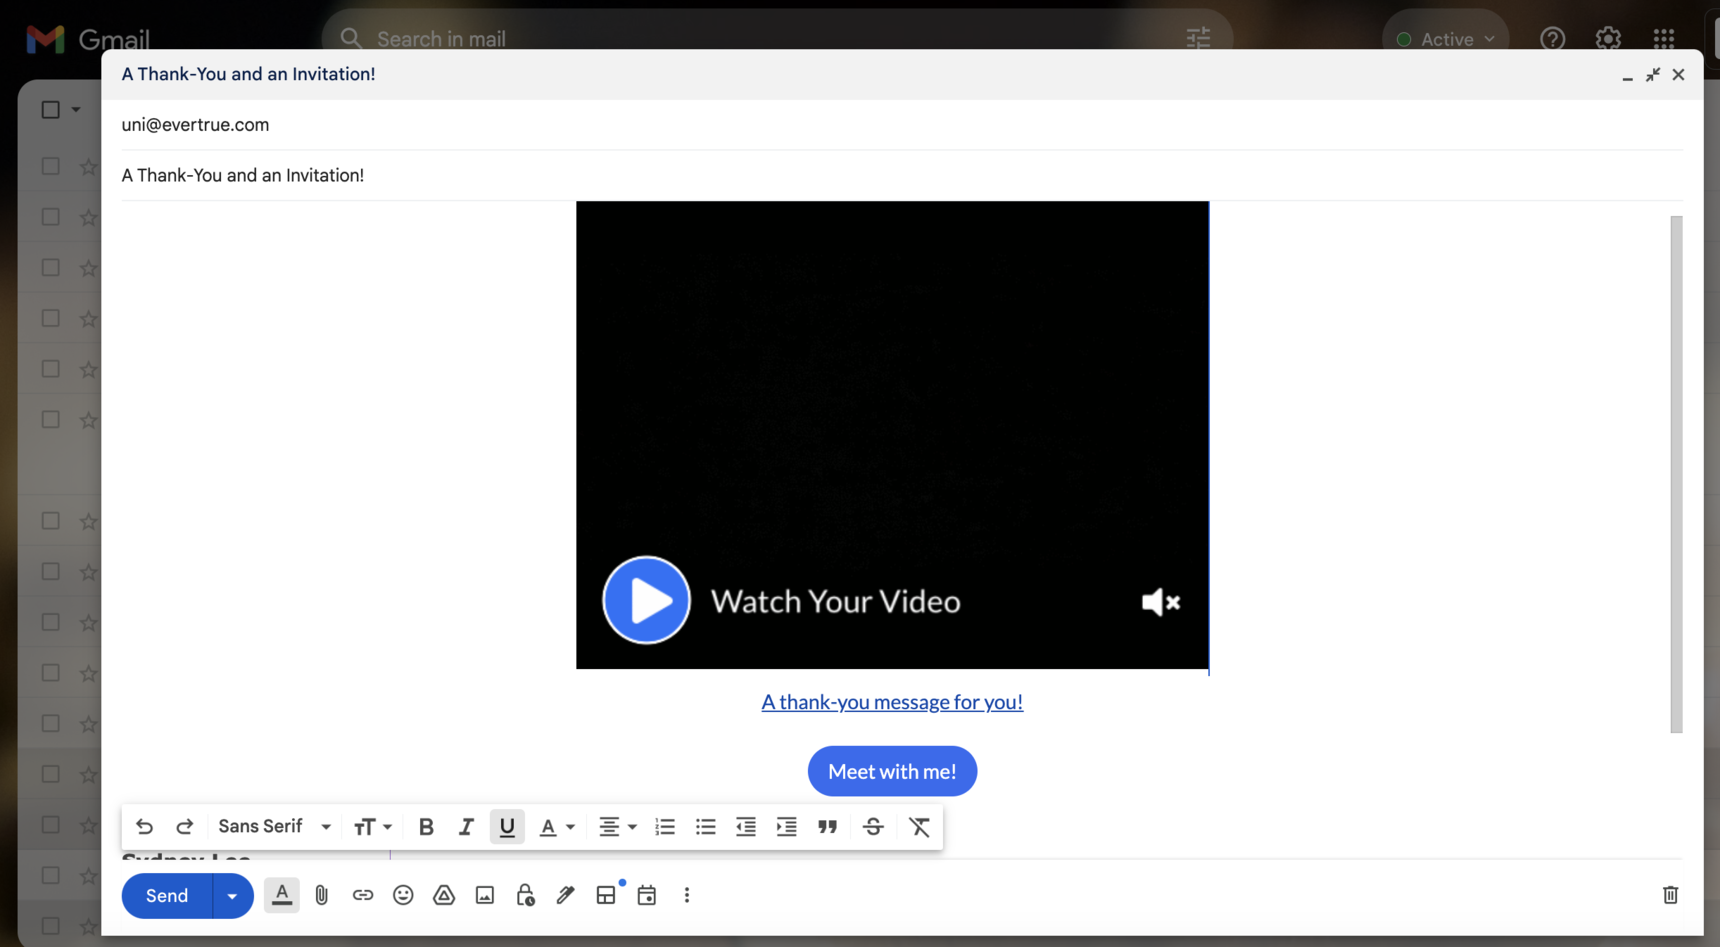
- Copy Link + Thumbnail - Use to copy the landing page link with an attached thumbnail. This option works with email communication!
- Copy URL Only - Use to copy the landing page link without an attached thumbnail. This option allows you to share a link via text or LinkedIn, attach it to a QR code, or include in an email without a visual component!

Select your preferred option, and paste it into your email provider (or other communication method if using URL only). Insert your recipient's email and craft your own subject line! 1:1 Video is also great if you've already added copy and just want to add addition context and action steps with your ThankView.
When you're ready, hit Send!
Step 8. Review Your Metrics
Navigate to your Metrics page in the top navigation bar and click into the 1:1 Video dashboard.

Once you've entered this dashboard, click the button that says Email 1:1 Video Metrics.

You’ll receive a CSV with stats from all videos you’ve sent out using this method. Some of the data included will be:
Recorded By - Who has recorded what.
Recipient details - First name, last name, email, Donor ID. These data points will populate if a contact is linked to the video.
- Video Added Date - When the video was recorded.
1:1 Video Option details - Was the CTA button enabled, what link was added, was the link clicked, was the logo turned on/off, what thumbnail type was used?
How much the video was watched - Was the video started, was it finished, was it viewed up to 25%, 50% or 75%?
Video Clicks - How many times was the video clicked.
Total Views - How many views the video received.
Configuring 1:1 Notifications
If you want to stay up to date with your recipients' interactions with your 1:1 videos, you can enable notifications!
The easiest way to do this is by:

You can receive and email anytime an action on a video has occurred, and opt for daily or weekly updates. You can also turn this off altogether.
If you have additional questions, please reach out to your Customer Success Representative or support@thankview.com.
Reply
Content aside
- 9 mths agoLast active
- 1118Views
-
1
Following